
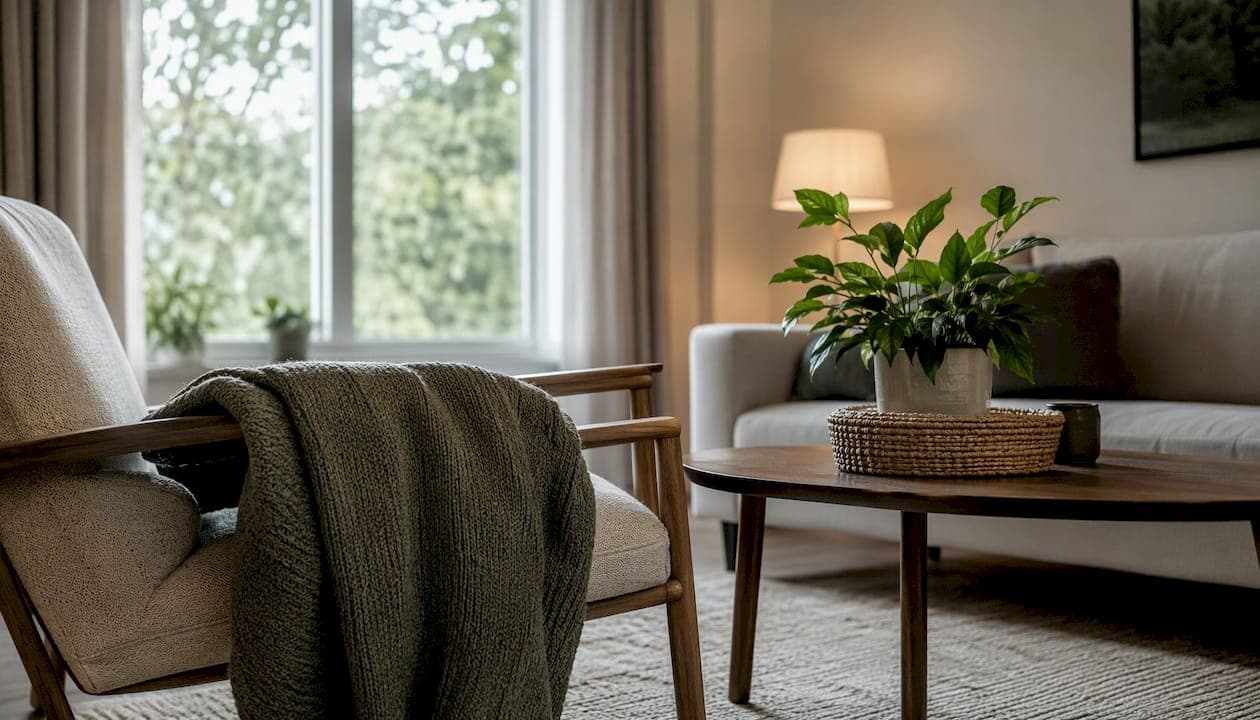
Good rental listing photos are the single fastest way to cut vacancy time. Cover every room, shoot in natural light, and upload the hero shot first. That is the whole formula. Everything below shows you how to execute it.
Quick-start checklist (copy before every shoot):
- Hero shot of the main living space (wide, well-lit, landscape orientation)
- Kitchen, all bedrooms, all bathrooms, exterior front, parking or communal areas, floorplan
- Shoot in JPEG, minimum 1920px wide, landscape orientation
- Upload hero shot as thumbnail; order images to follow the flow of the property
Table of Contents
- What should your rental listing photos actually cover?
- How to prepare and stage the property before you shoot
- What lighting and equipment do you actually need?
- Shooting occupied properties: what UK landlords need to know
- Editing, file formats, and uploading to UK listing portals
- How many photos should a rental listing include?
- When should you hire a professional photographer?
- Key takeaways
- The thing most landlords get wrong about listing photography
- Readytorentproperty handles the whole turnaround, photography included
What should your rental listing photos actually cover?
The shot list below is the non-negotiable minimum for any UK rental listing. Research on tenant psychology confirms that prospective tenants decide within seconds whether to click through, and that decision rests almost entirely on the first image they see. Start with your strongest wide shot and let the gallery walk viewers through the property as though they were physically there.
| Priority | Shot | Practical notes |
|---|---|---|
| 1 | Hero living shot | Widest angle, two walls visible, shoot from doorway at chest height |
| 2 | Kitchen | Show worktop space and appliances; remove washing-up and tea towels |
| 3 | Master bedroom | Shoot from the corner opposite the bed; include window if possible |
| 4 | Additional bedrooms | One shot each minimum; show built-in storage if present |
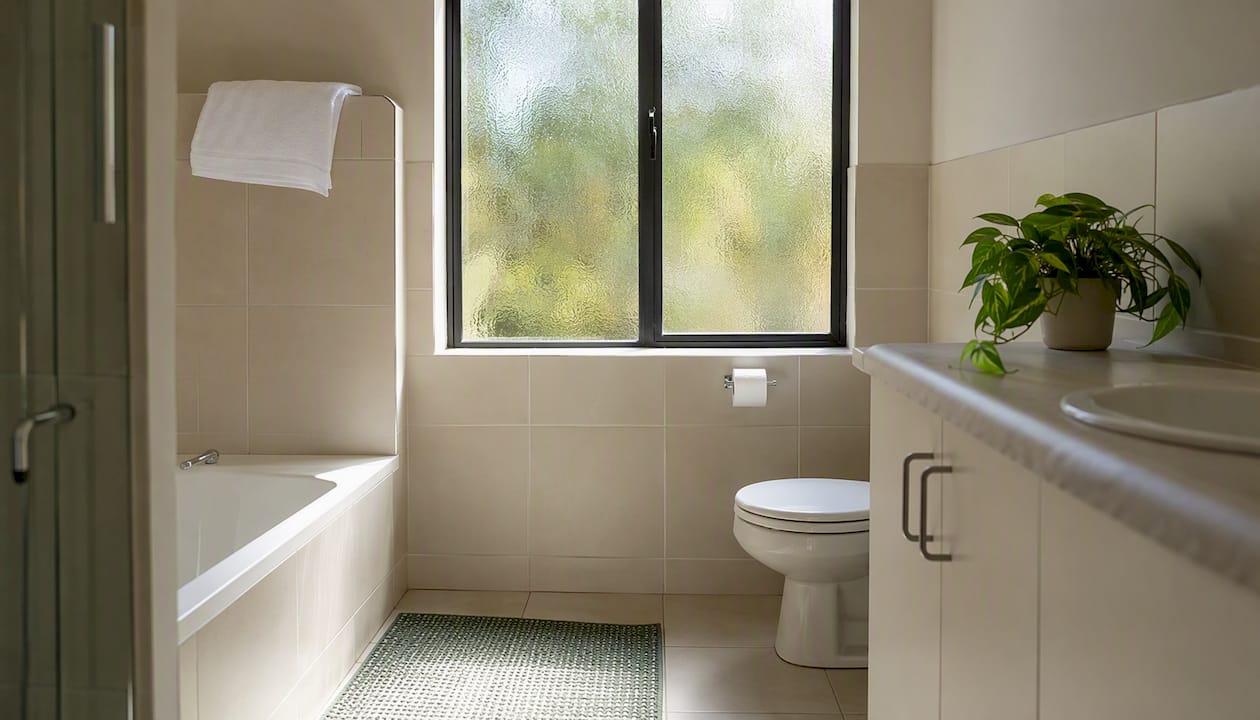
| 5 | Bathroom(s) | Close toilet lid, remove personal toiletries, shoot from doorway |
| 6 | Exterior / kerb appeal | Shoot straight-on from the pavement; include front door and garden if applicable |
| 7 | Parking / communal areas | Allocated parking, bike storage, shared gardens, entrance hall |
| 8 | Floorplan | Scan or photograph a drawn plan; many portals accept a simple annotated image |
The two-wall rule: always frame interior shots so two walls are visible. It creates depth, makes rooms read as larger than a flat-on shot, and gives tenants a sense of the actual layout rather than a single surface.
Pro Tip: Shoot every room from the doorway at chest height, not from a corner crouched low. Low angles exaggerate ceiling height and distort floor proportions, which looks odd and can mislead tenants about the actual space.
How to prepare and stage the property before you shoot
Camera-ready does not mean showroom-perfect. It means removing anything that distracts the eye and adding just enough warmth to make the space feel liveable.
Preparation checklist:
- Remove all personal items: family photos, children's artwork, medication, documents
- Clear kitchen worktops completely; leave only a kettle or a bowl of fruit if the space allows
- Replace any blown bulbs and turn on every light in the room before shooting
- Open all curtains and blinds fully; natural light is your most powerful tool
- Straighten cushions, make beds with plain neutral bedding, close wardrobe doors
- Remove bath mats, toilet brushes, and visible cleaning products from bathrooms
- Put bins out of sight; move cars from directly in front of the property for exterior shots
- Sweep or mow the front garden if applicable
Before/after in practice: A kitchen with a full dish rack, a cluttered worktop, and a damp cloth draped over the oven handle reads as cramped and poorly maintained. Remove those three things and the same kitchen reads as clean and spacious. Nothing else changed. That is the entire principle of staging for rentals: subtraction, not addition.
For empty properties, a few low-cost props add warmth without misleading anyone. A folded towel on a bathroom shelf, a plant on a windowsill, a plain rug in the living room. These are honest signals that the space is well cared for. What you should never do is bring in furniture that will not be there for the tenancy, or use virtual staging without clearly labelling the images as such.
Pro Tip: Do a final sweep immediately before shooting. Remove toothbrushes, sponges, and any small clutter that crept back. These items are invisible to the eye during a walk-through but jump out in photographs.
What lighting and equipment do you actually need?
The good news: modern smartphones are sufficient for most rental listings when used correctly. The difference between a flat, dark phone shot and a bright, professional-looking one is almost entirely down to light and settings, not the device.
| Equipment | Why it helps | Priority |
|---|---|---|
| Clean lens | Smears cause haze and soft focus across the whole image | Essential |
| Tripod or mini-tripod | Eliminates blur in lower-light rooms; keeps framing consistent | High |
| Wide-angle clip-on adapter | Captures more of a room without distorting walls | Useful |
| Remote shutter or timer | Avoids camera shake when pressing the shutter button | Low cost |
| Portable LED panel | Fills dark corners when natural light is insufficient | Optional |
Camera settings quick guide:
- Enable HDR mode on your phone; it blends exposures and recovers blown-out windows
- Shoot at the highest resolution your device offers; you can always compress later
- Never use digital zoom; move physically closer or accept a wider frame
- Set white balance manually if your phone allows it; "Daylight" or "Cloudy" avoids the orange cast from tungsten bulbs
- Shoot landscape (horizontal) orientation for every interior and exterior shot
Natural light is the principal determinant of perceived image quality. Schedule shoots for mid-morning on a bright day when sunlight enters the main rooms without casting harsh shadows. For north-facing rooms or basement flats, supplement with lamps placed out of frame and a white card or foam board used as a reflector opposite the window.
Wide-angle and distortion: a clip-on wide-angle adapter is useful, but anything below roughly 18mm equivalent focal length starts to bow walls and make rooms look physically impossible. If a room looks like a fish-eye lens shot, tenants will distrust the listing. Use wide angles to show more of a room, not to make a small room look like a ballroom.
Pro Tip: Shoot the same room twice: once with all artificial lights on and once with them off and curtains fully open. Compare on your phone screen and use whichever looks more natural. Mixed light sources (daylight plus tungsten) create colour casts that are difficult to fix in editing.
Shooting occupied properties: what UK landlords need to know
Photographing a tenanted property requires consent. Under the terms of most standard assured shorthold tenancy agreements, landlords must give reasonable notice before entering, and photography counts as an intrusion on the tenant's quiet enjoyment of the property.
Practical steps for occupied shoots:
- Give at least 24 hours' written notice; 48 hours is better practice and reduces friction
- Use a simple written request: "I would like to arrange a photographer's visit on [date] between [time] and [time] to take marketing photographs of the property. Please let me know if this is convenient or suggest an alternative time."
- Confirm the tenant will be present or has agreed to access in writing before the visit
- Never photograph personal documents, financial statements, or valuables
- Blur or crop out children's faces if they appear in any shot before publishing
- Remove or ask the tenant to remove any items that identify them personally
If a tenant declines, you have three practical options. Wait until the tenancy ends and shoot the vacant property. Commission a virtual staging service and label all images clearly as virtually staged. Or use photographs taken at the start of the tenancy if they are still accurate and the property has not changed materially.
Propertymark's guidance on property photography is clear that professional standards require honesty and transparency throughout. Misrepresenting a property's condition or layout, even through selective photography, undermines trust and can lead to wasted viewings and disputes.
Editing, file formats, and uploading to UK listing portals
Keep the editing light and the files organised. The goal is accurate, bright images that load quickly on Rightmove, Zoopla, or OnTheMarket.
| Setting | Recommendation |
|---|---|
| File format | JPEG for web upload; retain originals as TIFF or RAW |
| Resolution | Minimum 1920px wide, landscape orientation |
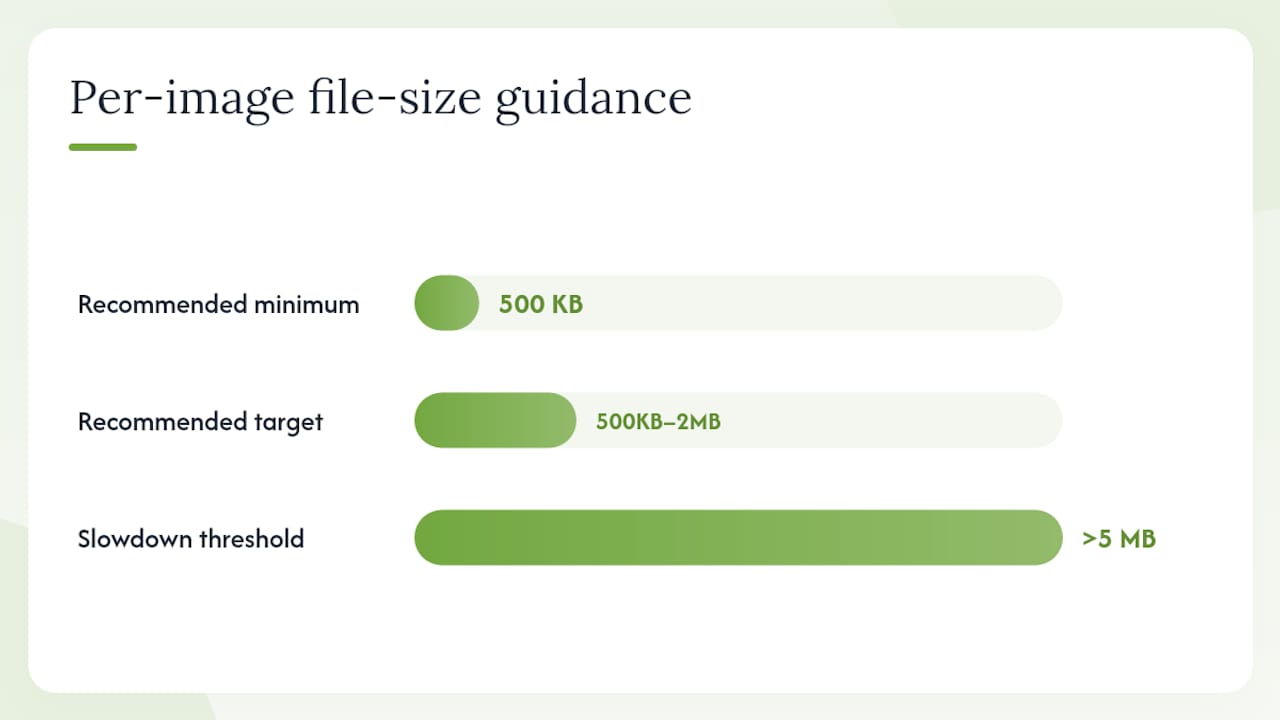
| File size | Aim for 500KB–2MB per image; above 5MB slows page load |
| Orientation | Landscape (horizontal) for all listing images |
| Colour space | sRGB for web; do not export in Adobe RGB or ProPhoto |
Deliver web-ready JPEGs for upload and keep high-resolution originals archived. You will need those originals if you ever want to reprint, re-edit, or reuse the images for a different listing.
Before uploading:
- Batch rename files in shoot order (01_hero_living, 02_kitchen, 03_bedroom1, etc.)
- Check each portal's current image specifications; Rightmove and Zoopla update their requirements periodically
- Upload in the order you want them displayed; most portals use upload order as the default gallery sequence
- Keep a backup of the full unedited set in a separate folder
What edits are acceptable: straighten horizons, adjust exposure and brightness, correct white balance, and crop to improve composition. What crosses the honesty line: removing neighbouring buildings, adding blue sky to a grey day, digitally extending a room, or removing structural features. Propertymark's professional standards are explicit on this point.
How many photos should a rental listing include?
High-converting listings typically include enough images to cover every room plus the exterior, without padding the gallery with near-identical shots of the same space.
Recommended counts by property type:
- Studio or bedsit: 8–12 images (hero, kitchen area, bathroom, exterior, any communal space, floorplan)
- One-bedroom flat: 12–16 images
- Two or three-bedroom house: 16–22 images
- HMO or house share: 20–28 images (individual rooms matter more here; each bedroom needs its own shot)
- Short-term or vacation rental: 25–35 images; gallery order and hero shots are especially influential for short-let platforms where guests browse more images before booking
Best ordering for a listing gallery:
- Hero living shot (thumbnail)
- Kitchen
- Bedroom(s) in size order
- Bathroom(s)
- Exterior and garden
- Parking, communal areas, or building entrance
- Floorplan
Caption guidance: add a short caption only when it adds information the image cannot convey. "Recently refitted kitchen (2024)" or "South-facing garden" tells a tenant something useful. "Living room" does not.
When should you hire a professional photographer?
DIY photography works well for most standard lettings. A professional makes sense when the stakes are higher or the time cost is too great.
Hire a professional when:
- The property is a premium or high-value let where the photography needs to justify the asking rent
- You are marketing a short-term or vacation rental where visual quality directly affects booking rates
- The property has complex or unusual architecture that requires specialist lens work
- You have tried DIY and the images are not generating enquiries
- You simply do not have the time to prepare, shoot, edit, and upload correctly
What to ask for when hiring:
- A fixed shot list agreed in advance (use the table in this article as your brief)
- Full editing included in the fee, not charged separately
- Delivery of both web-resolution JPEGs and high-resolution originals
- Confirmed usage rights: you need to be able to use the images on all portals and in perpetuity
- Turnaround time in writing; 24–48 hours is standard for most residential shoots
- Virtual tour or 3D capture as an optional add-on; Matterport-style systems suit larger or premium properties and can be outsourced as a standalone service
Pro Tip: Ask to see examples of shoots in similar property types before booking. A photographer who excels at commercial interiors may not understand the specific framing conventions that work for rental listings.
For landlords who want photography as part of a broader property preparation, a managed turnaround service that bundles clearance, deep cleaning, staging, and photographic handover removes the coordination burden entirely. You get one contractor, one fixed quote, and a property that is ready to list.
Key takeaways
Good rental listing photos follow a repeatable workflow: prepare the property, shoot in natural light, cover every room in the right order, export correctly, and upload the hero shot first.
| Point | Details |
|---|---|
| Preparation comes first | Declutter, clean, open curtains, and remove personal items before picking up a camera. |
| Cover every room | Shoot hero, kitchen, all bedrooms, all bathrooms, exterior, parking, and floorplan as a minimum. |
| Light determines quality | Schedule shoots for mid-morning natural light; supplement dark rooms with lamps and a reflector. |
| Export and upload correctly | Deliver web-ready JPEGs at 1920px minimum; keep high-resolution originals archived separately. |
| Readytorentproperty | Offers a fully managed turnaround including photographic handover, so landlords can list faster without coordinating multiple contractors. |
The thing most landlords get wrong about listing photography
The conventional wisdom says "just get a professional." That is not wrong, but it misses the real problem. Most poor rental listing photos fail before the photographer arrives. The property is not ready. Lights are blown, bins are visible, the kitchen worktop is covered, and the beds are unmade. A professional photographer working in those conditions will produce professional-looking photographs of a messy property.
The preparation is the photography. A landlord who spends 90 minutes decluttering, replacing bulbs, and opening every curtain before a shoot, then uses a modern smartphone on a tripod, will consistently outperform a landlord who books a photographer and hands over the keys without preparation.
The second thing people underestimate is ordering. Tenants do not browse a gallery randomly. They move through it the way they would move through the property. If the first image is a bathroom or a close-up of a kitchen splashback, the listing loses them before they have formed any impression of the space. The hero shot earns the click. Everything after it either confirms or undermines that first impression.
Photography for rental listings is not about making a property look better than it is. It is about making it look exactly as good as it genuinely is, without the visual noise that obscures that quality in person.
Readytorentproperty handles the whole turnaround, photography included
If preparing a property for photography, coordinating a clean, and managing the upload feels like more than you want to take on between tenancies, Readytorentproperty delivers the entire process as a single fixed-price service.
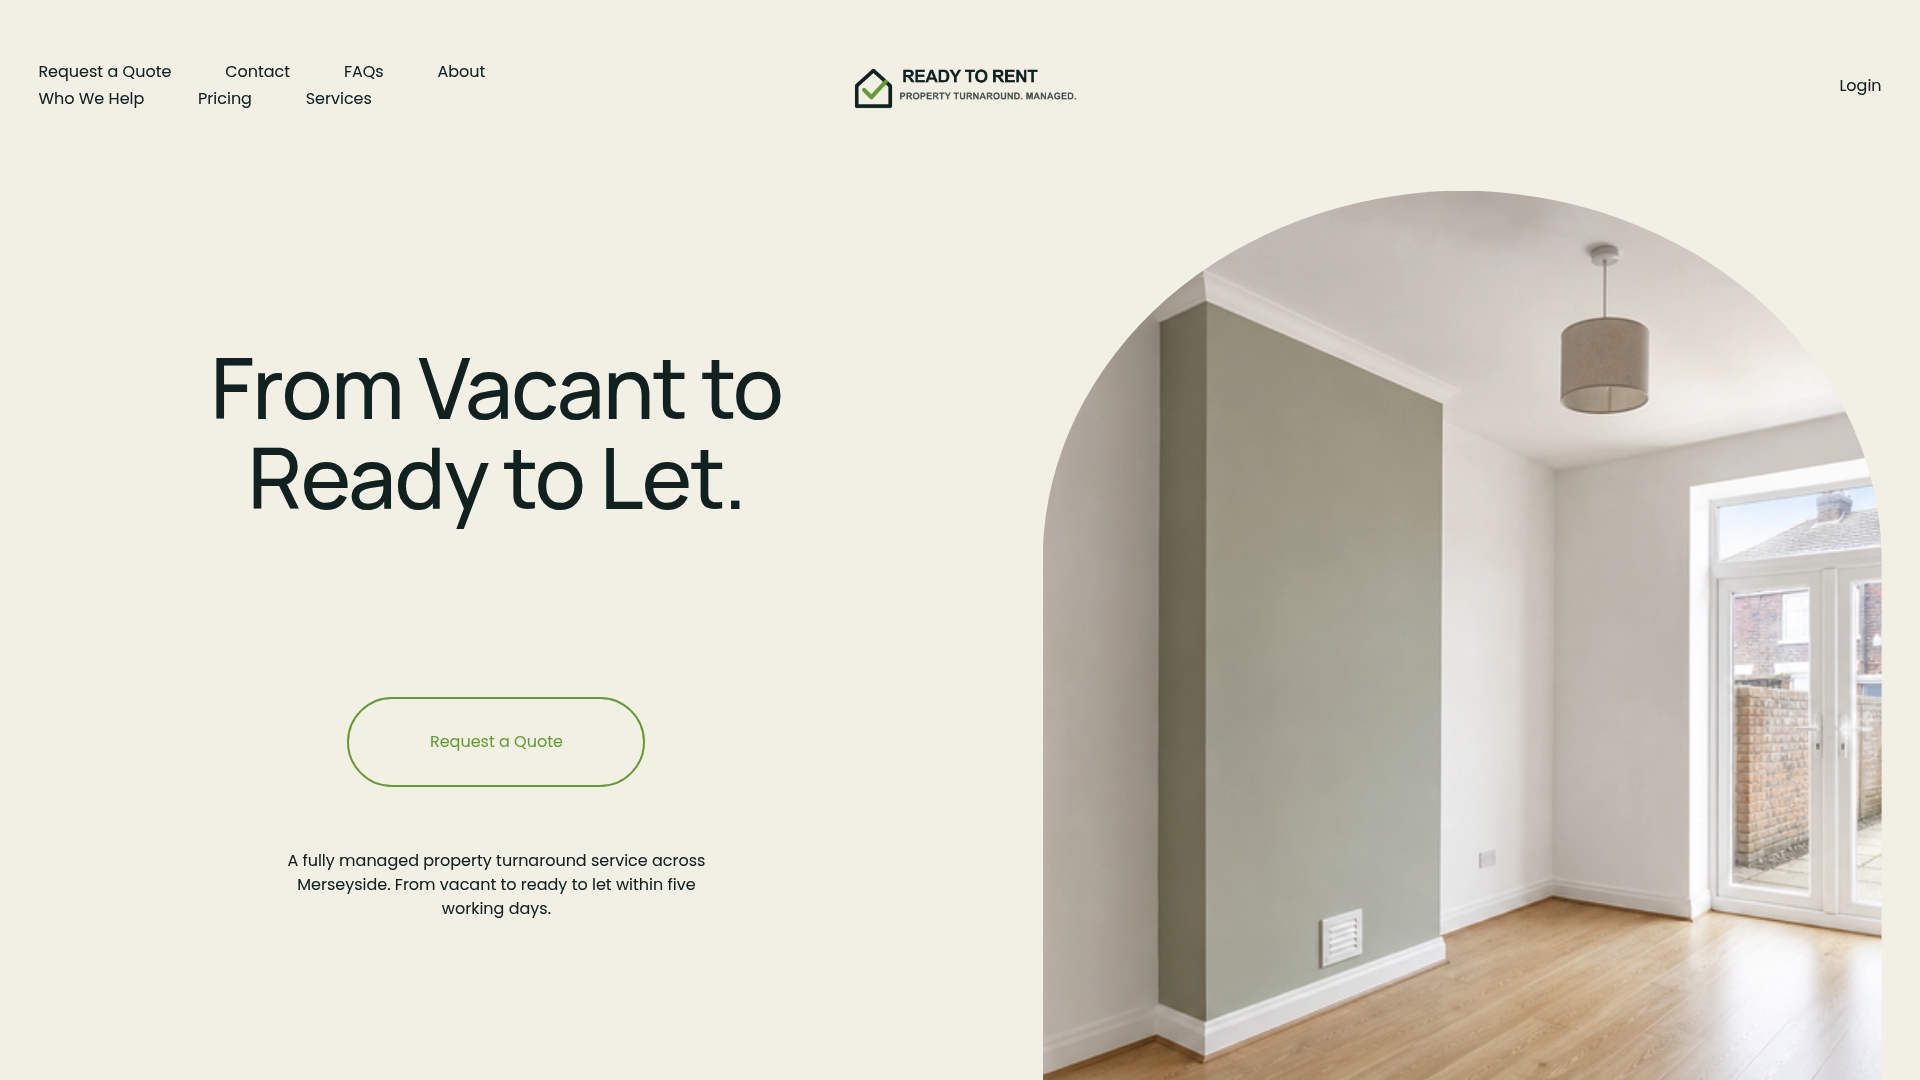
The service covers inspection and initial photographic reporting, full clearance and compliant waste disposal, deep cleaning, carpet and window cleaning, optional neutral redecoration, and a final photographic handover with images ready to upload to your chosen portals. One contractor handles everything, which means no chasing multiple trades and no delays caused by one job waiting on another. The managed turnaround service is designed to get a vacant property listed within five working days.
Check the pricing page for fixed-quote details, or request a quote directly to arrange a site inspection.
Useful sources and next steps
- Real Estate Photography: A guide to getting started
- How to take rental photos that rent your unit fast | Avail
- Real estate photography tips
- The psychology of rental listings: how photos influence tenant decisions
- Vacation rental photography tips: pro shots & staging
- How to select the right camera for the job | Matterport
Suggested searches: "property photographer near me," "virtual tour UK rental," "property turnaround services Merseyside"